Photo Tip Tuesday: Shooting Indoors
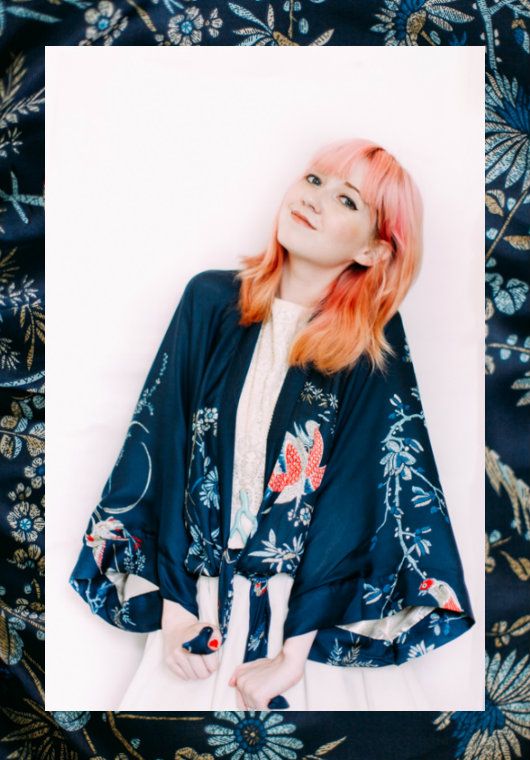
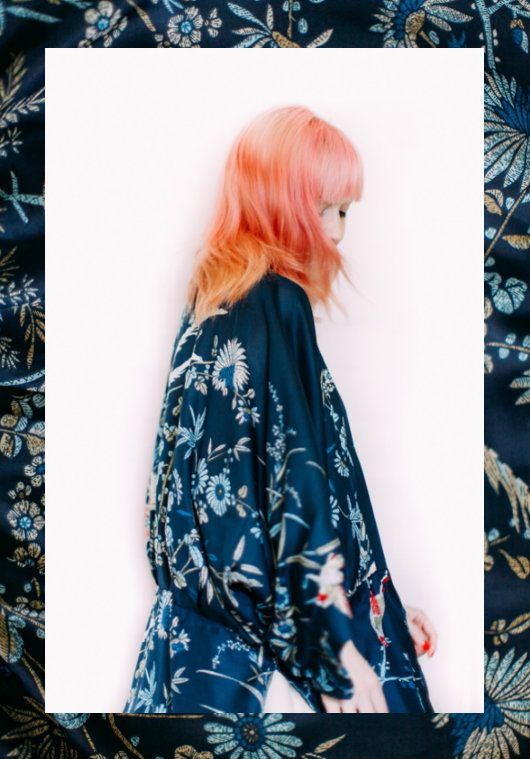
*wearing Sheinside kimono c/o & Shop Ruche dress
I'm still figuring out interior photography and working on closer self-portraits for when I want to show a hairstyle how-to or makeup trick, so as always before I start a photo tip post I feel obligated to state "I'm not an expert!" Since I don't have photoshop I have to get creative when taking pictures indoors and finding a large white space to use as a backdrop instead of creating one post-picture taking. Through trial-and-error and one "lightbulb" moment I've figured out a few tricks that will help you create a studio look without the proper equipment or money!
Use as much natural light as possible: One of the reasons I always shoot outside is that my home is not that well-lit. When I do shoot indoors I try to shoot in the early afternoon when a lot of light is coming in through my windows and I face my windows in my pictures. This is essential when you don't have any lighting equipment. Overhead lights don't tend to offer a lot of dramatic light anyway and using natural light from your window gives you a better opportunity to get purer colors (instead of a yellowish tint) and a sharper image.
Start at a higher ISO: You can read more about going manual here, but if you already play with your settings then it's a good rule of thumb to have a higher ISO when shooting indoors. I typically set my ISO at 500 which gives me more flexibility with my other settings but doesn't make my pictures too grainy (the higher the ISO the more grain).
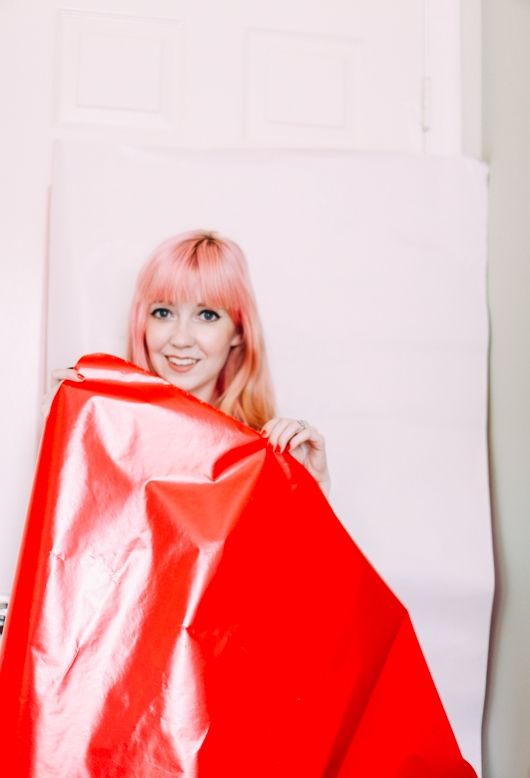
Use inside out wrapping paper as a basic backdrop: I turn the bright red wrapping paper I got for wrapping Christmas presents last year to the inside (which is plain white) and tape it to the back of my door. The door is a clear space free of clutter and it faces my window so I'm better able to use the natural light from that. It is a smaller frame than a professional works with so it isn't necessarily the best for full-body photographs, but in a pinch it is a super easy and cheap backdrop for self portraits. Avoid wrinkling the paper and tape it a few inches above your head; you can turn it sideways if you're shooting a landscape photo and keep it long for a portrait image.
For self-portraits invest in a remote: I have long resisted getting a remote and I'm not entirely certain why I was so attached to my "set the self-timer and run" set-up, but while that works ok outside when I can use a prop to set the focus--indoors against a plain white backdrop I have nothing to set a focus on. So if you're shooting indoors a remote will make self-portraits 100% easier. The remote I use only cost a little more than $20 and has been priceless in its usefulness.
Move around: Although you might be in a tighter space and merely trying to shoot detail or beauty shots, it's still important to show different angles/expressions to keep things interesting. Shooting a hair style: are you showing all the angles of how the hair looks? Consider also taking a few shots further away and few closer photographs to show details. I always think you want to avoid that stiff "yearbook photo" look that comes from being afraid to move/blink/sneeze.
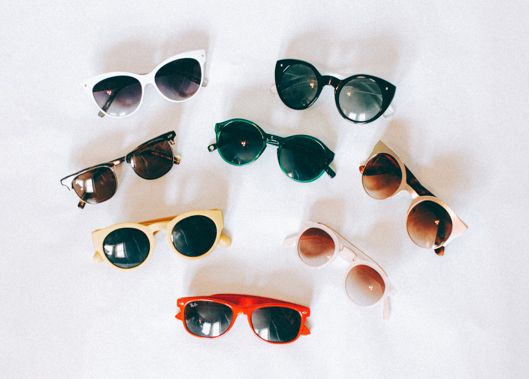
Inside out wrapping paper also works for accessories: Set the paper on a smooth surface (like your floor!) for a flat white backdrop for other detail shots as well. When working with accessories it definitely provides enough space and helps you achieve that "indoor studio" look without any professional equipment. A plain white backdrop really helps focus the attention on whatever detail you are photographing from accessories to makeup.
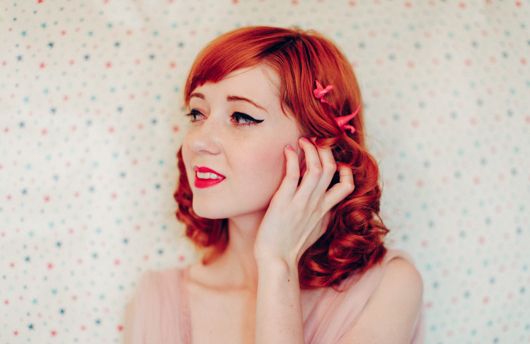
Turn your paper around for a patterned background: If you have fun patterned wrapping paper that can also become an easy backdrop! Experiment! For this photograph I borrowed my housemate's star printed wrapping paper; out of focus it looks like pastel polka dots.
Read all of the photo tip posts here.
Labels: photo tip, photo tip tuesday
posted by Unknown @ 3:00 PM
0 Comments

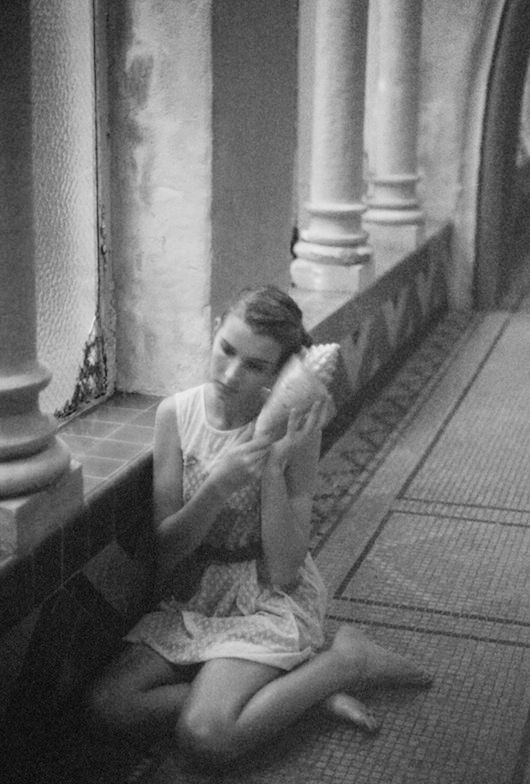

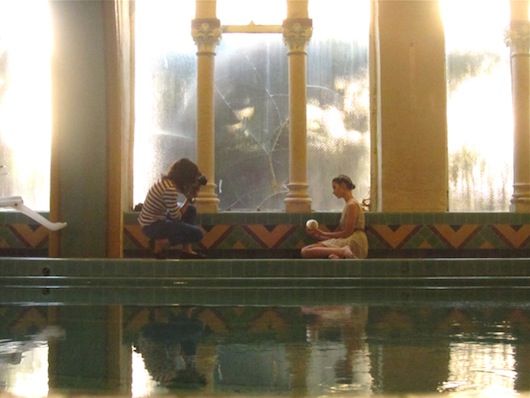 After I create a mood board, I pitch my idea (via email) to some people I’d like to be part of my photo shoot team. My team consists of a makeup artist, a hairstylist, a wardrobe stylist, and (of course) a model. It usually takes a few tries (and emails) until I piece together enough people that are interested in the shoot and available on the date that I had in mind. When choosing a model, I usually browse through the websites of agencies in my area and choose a few of my favorite models. I then email the model agent (their contact info can usually be found on their website) with my concept, accompanying mood board, shoot date, location, and team; I include as much info as possible to give them a detailed understanding of how I envision this shoot.
 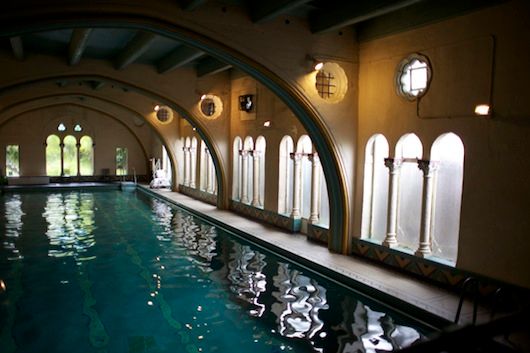 Shoot day is the most fun and the most stressful! I always worry that someone isn’t going to show up or get lost and luckily I’ve never had that happen (although I HAVE had people back out of my photo shoots the night before). Depending on how intricate the style, makeup and hair can take 1-2 hours. Either before or after makeup is done, the wardrobe stylist will fit the model in the outfits he/she brought. In a typical editorial shoot, there are anywhere from 6-10 outfit changes. Then I shoot! I usually have a list of shots I want to get, which makes it easier to explain to the model how I want him/her to pose. When shooting digital, sometimes the photographer will bring his/her laptop to upload the photos as they go along so that they can see how the shots are coming out and if they need to change hair/makeup/wardrobe based on how the final images are looking. In most recent years, I’ve tended to gravitate toward using film photography, so I don’t have this luxury! Although I’ll always bring my camera to test the lighting before I start shooting. Film is so expensive these days, I have to use it sparingly!
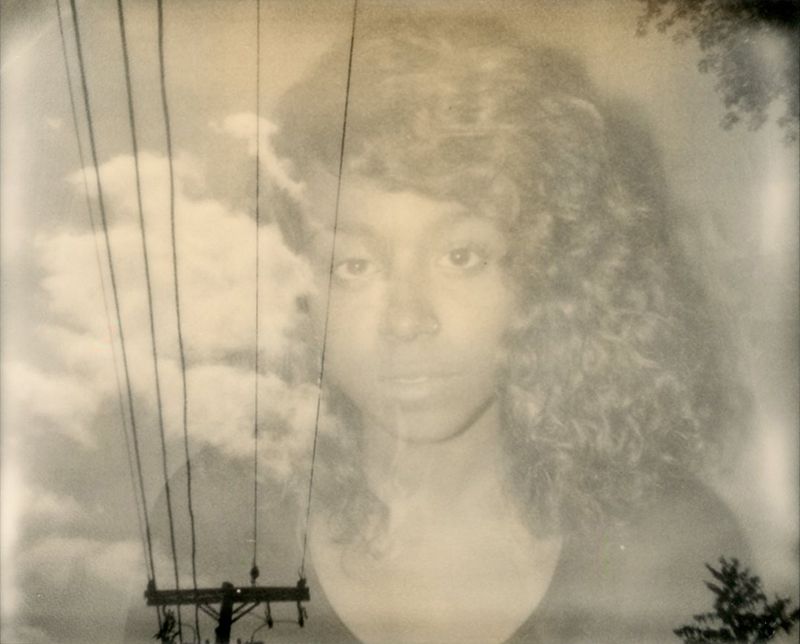
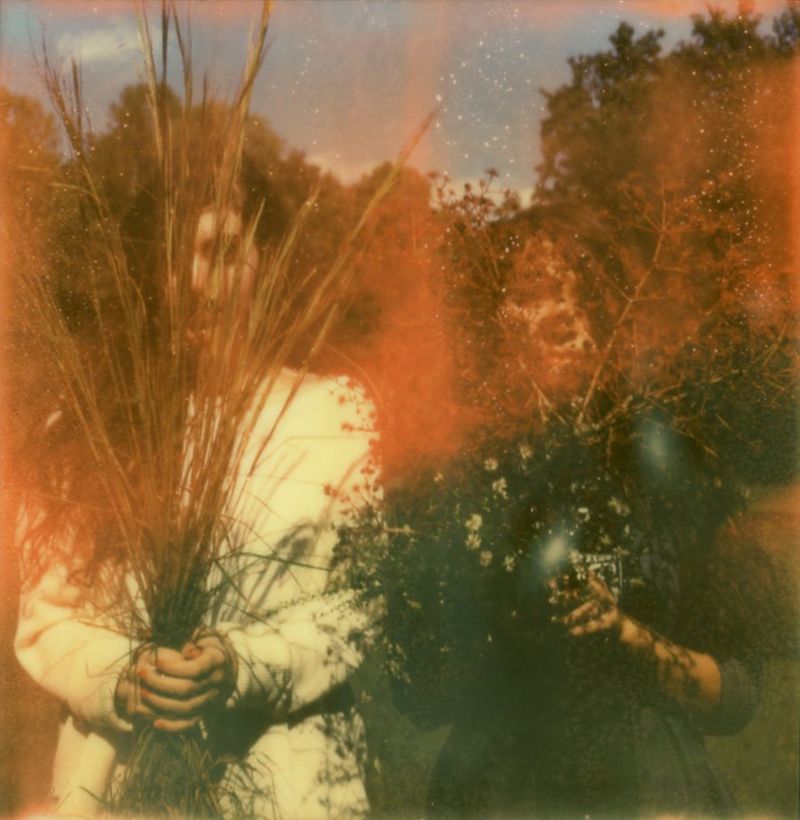
 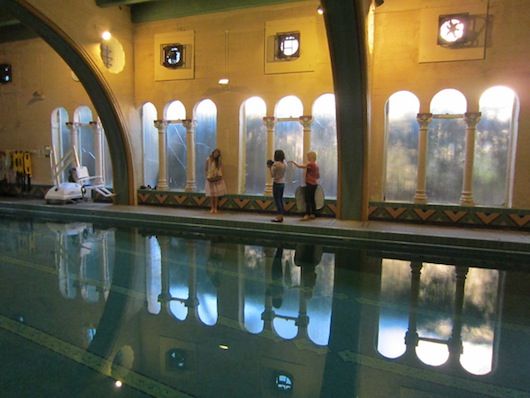 After shoot day is done, I am left with a few hundred images to sort through, edit and retouch (if I’m using digital). When I’m using film, it’s off to the camera store I go to get my film developed! I hardly ever retouch my film photos. Something about their rawness and the grain is so natural and works so well with my vision I feel they don’t need to be retouched. However, editing down to my favorite shots can be tough. I try to keep each photo shoot or fashion story to 20 images and less to keep it cohesive. The editing process takes me about 1.5-2 weeks. I like to take a few days off in between to be able to come back to the photos with a fresh eye. Sometimes my perception of the images changes and a shot I didn’t like before I like better later.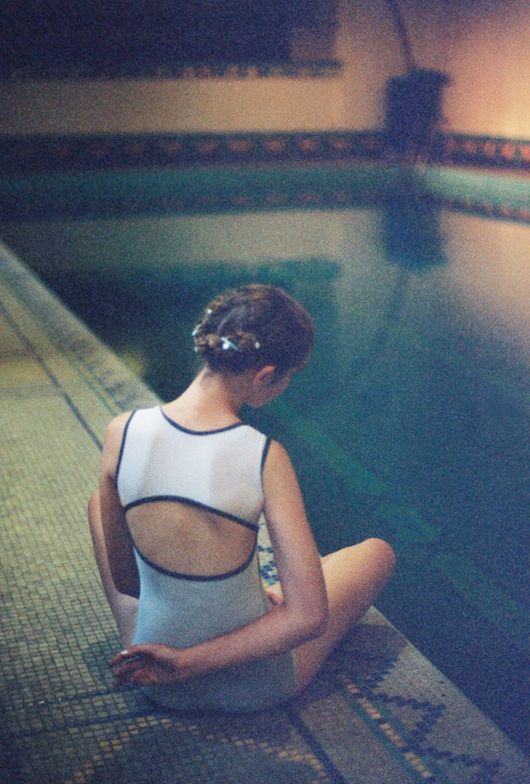

 Example:
  Example:
  Example:
  Example:
  Example:
  Example:
  Example:
 Example: