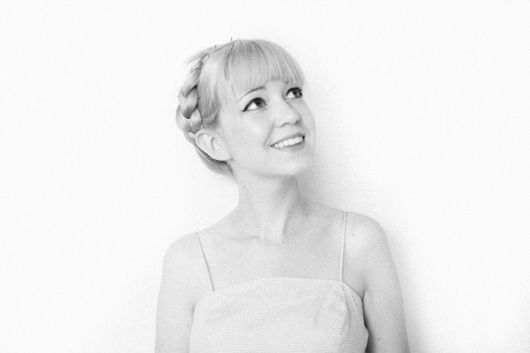
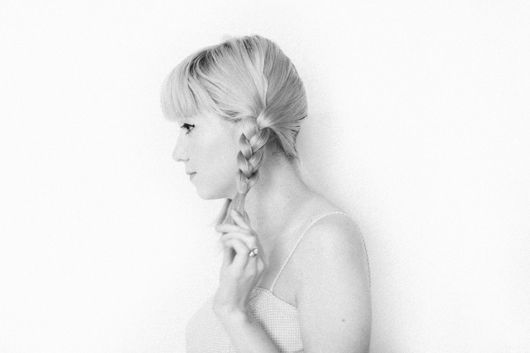
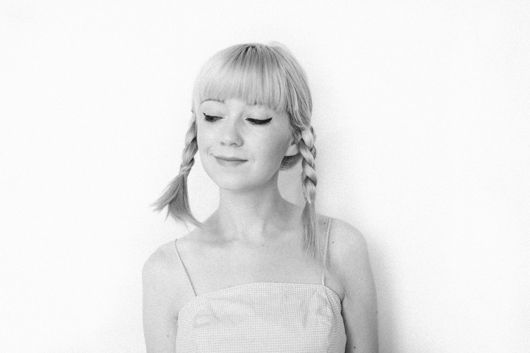
Monday, September 22, 2014

Curly Hair How-To


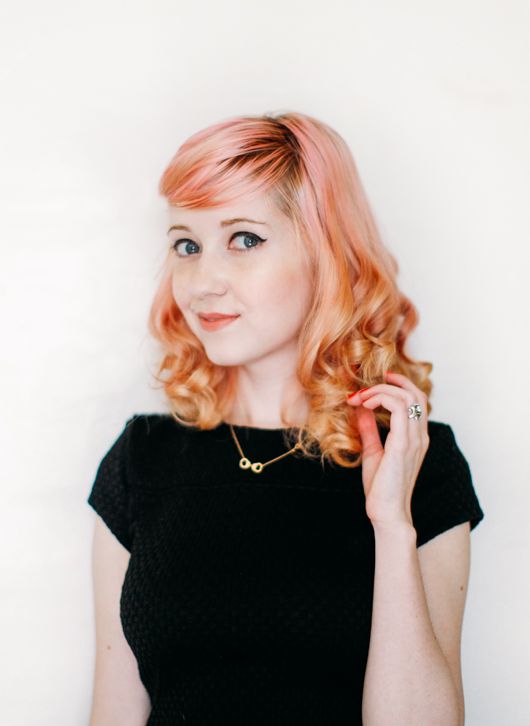
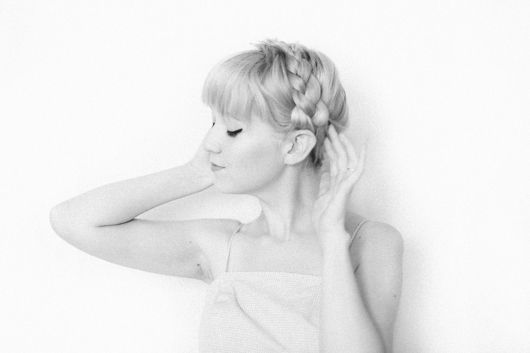
I'm really not that good at hair styling so I tend to have a few default settings: milkmaid braids, natural (which is straight) and curled. I'd love to figure out more vintage styles eventually like victory rolls or pin curls, but for now I'm just sticking to what I know. I've received a few requests for a tutorial on how I curl my hair so here you go.

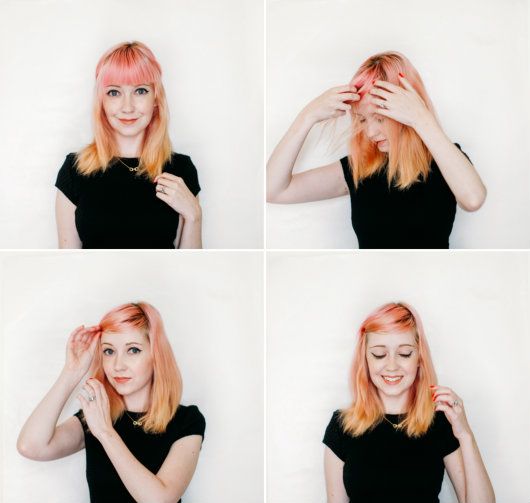
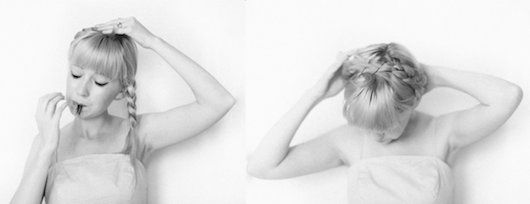
I think my bangs/fringe work best with straight hair, so I start by hiding the bangs before I curl my hair. I take a small section of longer hair from the left pull it across my forehead and secure it in place with a bobby pin.

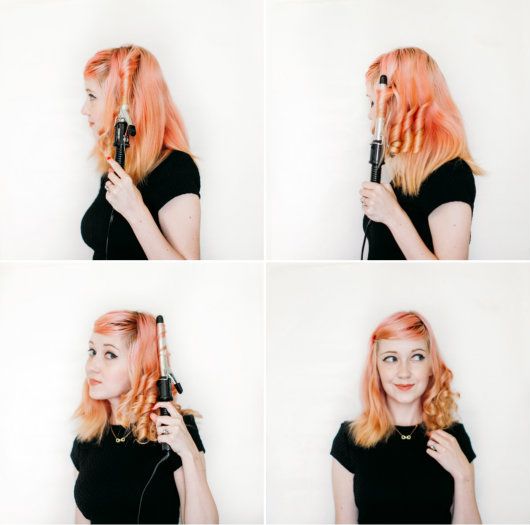
I use a 3/4" curling iron and turn the iron towards my face. Hold the curling iron perpendicular to the ground to get the best ringlets. Even if your hair isn't layered, work at your hair in sections to give it variety. I curl larger sections of hair on the bottom and separate small pieces of hair on top to give it more movement. Once you've done one side of your head repeat on the other. For this style it isn't important that the curls are consistent or neat, it looks best when there's variety.

That's it you're finished! Another trick is to turn your head upside down and shake out the curls a bit so they're less uniform and have more body while you apply some hairspray (I actually tried to photograph this but couldn't get the camera to focus so...). Anyway it's pretty simple, it just takes patience if your hair is thick.
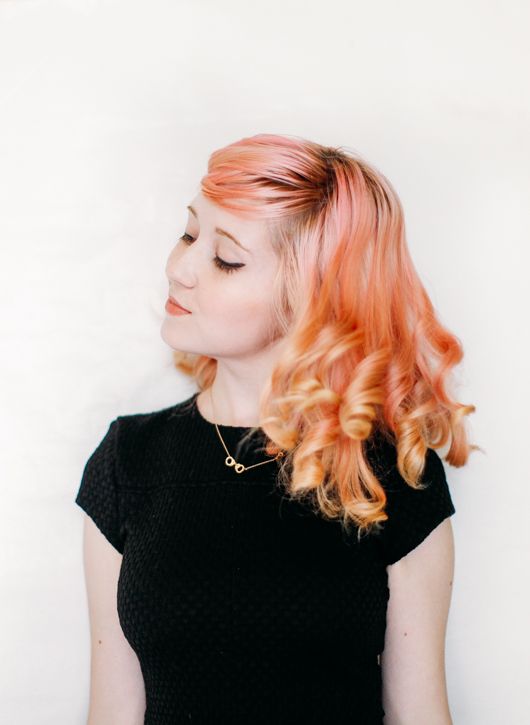
*wearing this dress & this necklace 

Labels: , , , ,

Monday, August 25, 2014

Milkmaid Braids Tutorial For Medium Length Hair


I've gotten a couple of requests for an updated milkmaid braids tutorial with my shorter hair, so here you go. I'll probably try to shoot a video of it sometime, but hopefully the photo format is also helpful.

First off: you don't need long hair for milkmaid braids. Approximately shoulder length and with a few shorter layers will work--like my hair. If your hair is slightly shorter or you have more layers then try styling your hair when it is damp.

Start by dividing your hair into two parts and then braid each section. You want to braid your hair tightly at an angle pulling it towards your face/the front of your head. My braids typically go over my ears and sort of stick out at a angle.

Once both sides are braided, use some bobby pins to pin them to the top of your head. I put bobby pins in from the back of the head towards the front. It usually takes me around five bobby pins to get everything to stay in place. If you hair is longer you can tuck the unbraided ends under the braids, but if it's slightly too short for that (like my hair) just bobby pin the ends together.

That's it--you're set! If it feels unsteady then you can use some hairspray to secure it all in place. But as you can see it's still pretty simple even if your hair isn't Rapunzel length. To me this a very functional hairstyle; I like wearing it on hot or windy days when I don't want to deal with my hair getting in my face or super tangly, so I think it works even if your braids aren't the smoothest or longest. It's about convenience rather than elegance.

Labels: , , , ,