Monday, December 8, 2014

Festive Holiday Makeup


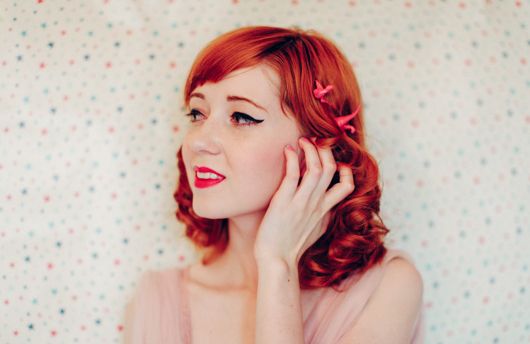
I'm so addicted to black winged eyeliner that Thomas has suggested I tattoo it on my eyelids and be done with it. So while going a day without black eyeliner is like walking around naked, I'm trying to force myself into different beauty looks. Something I'm considering for my holiday parties this year is glitter eyeliner and a red lip. The silver is more sparkly in person and suitably festive.

Labels: ,

Monday, December 1, 2014

Pre-Raphaelite Inspired Beauty


makeup: Clinique strawberry fudge eye shadow & Revlon raisin rage lipstick

As my hair gets longer I'm getting back to my Pre-Raphaelite inspired roots. Romantic looks and dark lips don't really work with a pixie cut and when you have a bob you look more 1920s than 1840s. So today I traded my typical make-up routine for something inspired by my favorite brotherhood. A little shadow on my lids, a dark lip, and dried flower crown and I feel ready to muse for John William Waterhouse.

Labels: ,

Monday, October 6, 2014

Back To Red


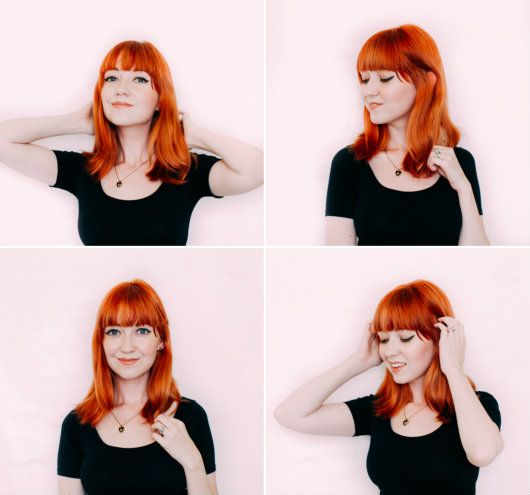
Craving all the fall colors in my wardrobe and not wanting to bleach my hair again (I don't want to damage it too much as it grows) means I'm back to being a redhead! This color is brighter than I usually like, but I'm happy with it for now and I'm excited to get out all my mustard yellow, olive green, and rust-toned clothes that will complement it.

The process: I started with my hair a mix of blonde and pink, although most of the pink was very faded. I used L'Oreal's lightest auburn following the instructions on the box and applying all over. Initially my hair came out a mousey strawberry blonde (you'll see it in tomorrow's pics). It looked quite dull to me so I decided to dye it again the next day using L'Oreal's  Intense Red Copper. I don't know how L'Oreal's dyes stack up against other brands in the same market, I've just had success with them in the past and am sticking to what I know! A quick wash and air dry and a few hours later this is what my hair looked liked.

Labels: , ,

Monday, September 29, 2014

My Everyday Makeup Routine


I don't really mix up my makeup routine very often, but when I dyed my hair blonde I did make a few alterations--adding in a highlighter (finally found one that works on super pale skin!) and a more nude lip color. It's not a big change, but since I occasionally get questions on my makeup I thought an updated post on my routine was in order. For me the focus is always my eyes (I can't remember the last time I went without winged eyeliner) so everything else is designed to work around that.

Labels: , , , ,

Monday, September 22, 2014

Curly Hair How-To


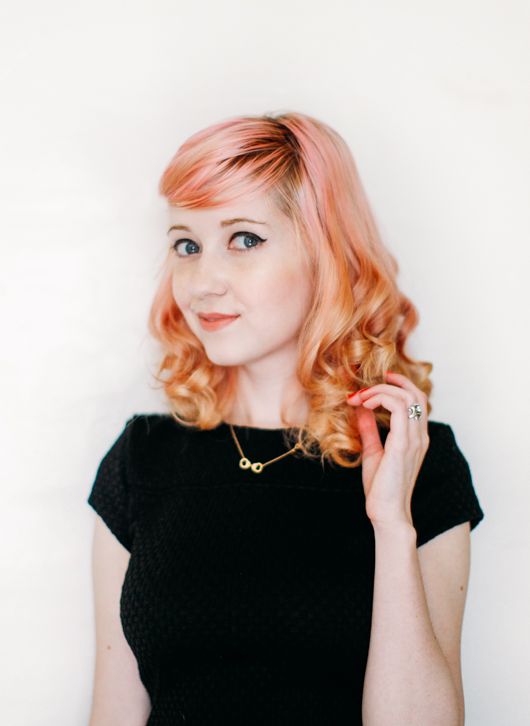
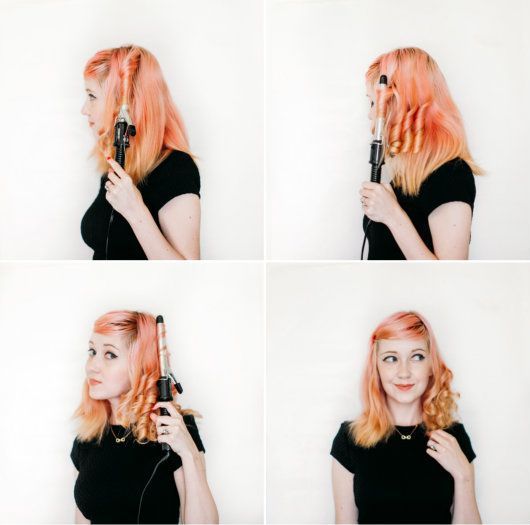
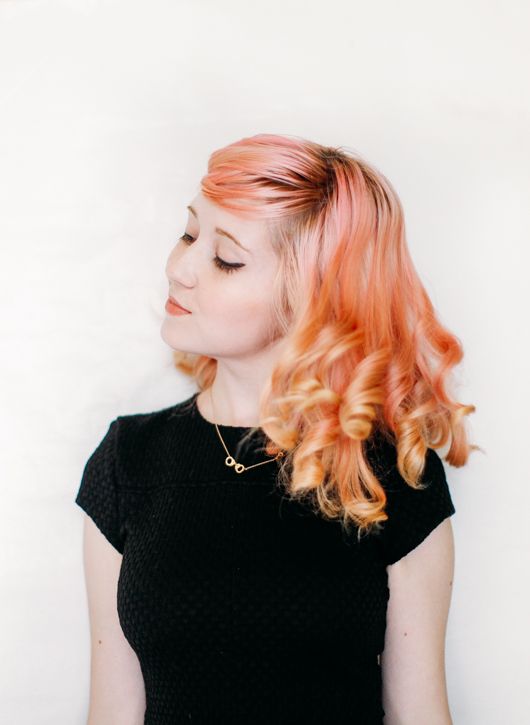
I'm really not that good at hair styling so I tend to have a few default settings: milkmaid braids, natural (which is straight) and curled. I'd love to figure out more vintage styles eventually like victory rolls or pin curls, but for now I'm just sticking to what I know. I've received a few requests for a tutorial on how I curl my hair so here you go.

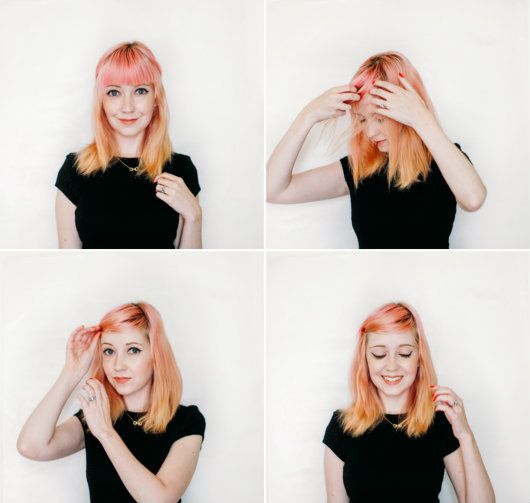
I think my bangs/fringe work best with straight hair, so I start by hiding the bangs before I curl my hair. I take a small section of longer hair from the left pull it across my forehead and secure it in place with a bobby pin.

I use a 3/4" curling iron and turn the iron towards my face. Hold the curling iron perpendicular to the ground to get the best ringlets. Even if your hair isn't layered, work at your hair in sections to give it variety. I curl larger sections of hair on the bottom and separate small pieces of hair on top to give it more movement. Once you've done one side of your head repeat on the other. For this style it isn't important that the curls are consistent or neat, it looks best when there's variety.

That's it you're finished! Another trick is to turn your head upside down and shake out the curls a bit so they're less uniform and have more body while you apply some hairspray (I actually tried to photograph this but couldn't get the camera to focus so...). Anyway it's pretty simple, it just takes patience if your hair is thick.
*wearing this dress & this necklace 

Labels: , , , ,

Monday, September 15, 2014

Charmed, I'm Sure


*wearing this Modcloth dress (old, similar), this makeup, and pink star hair charmsies
My hair is doing this strange ombre affect as it fades--my tips are almost completely back to being blonde! I think the cause is the pink dye I mixed into my conditioner (a tip from a couple of people about preventing fading); it seems to be working on top but I guess my tips are too saturated in the shower to hold the color as well! Anyway, it's sort of fun and making me feel like a My Little Pony. Adding to that feeling is these Charmsies I've been wearing in my hair. They were another suggestion from someone on Facebook and I thought when else will sparkles look appropriate in my hair than when it is pink? They're surprisingly hard to photograph and I thought they were rather subtle in person, but I keep getting compliments on them whenever I go out so I suppose they aren't that subtle!

Labels: , , ,

Monday, September 8, 2014

Hair Color Journey


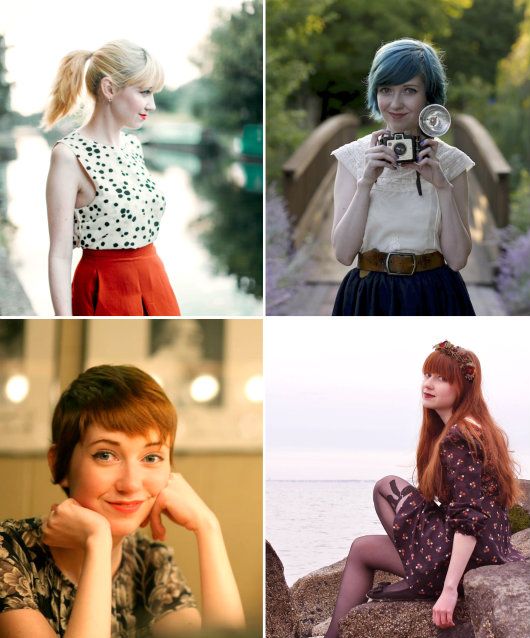
A look back at my previous hair styles, colors, and length: I kept my hair long and red for years, then after a brief period with a bob I took the biggest plunge by getting a pixie cut. I kept the color the same as when it was long and ended up keeping the pixie cut for a few years. I started to grow it out in 2012 and dyed it blue the summer of 2013 when it was quite shaggy/slightly shorter than a bob. I went back to red that fall and this summer I went blonde. The blonde was great but when I went to touch up my roots I accidentally tipped my hair into the grey/silver range and decided to cover it with pink dye.
Ultimately, I'm trying to get back to my long red hair but having fun in the transition process. Since I've gotten past my fear of bleaching/dyeing odd colors I'll probably keep experimenting with colors for years to come while returning to the red as my "typical" look. If you're curious about what dyes I used at each stage (once I started dyeing at home), you can find the answer in my previous hair posts.

Labels: , ,

Monday, August 25, 2014

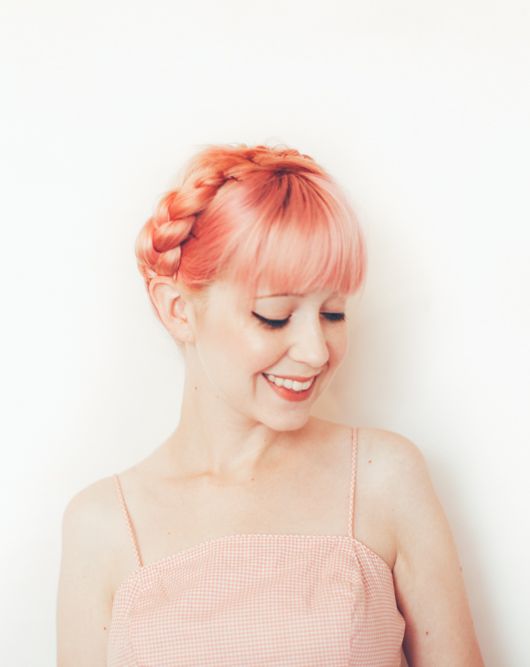
Milkmaid Braids Tutorial For Medium Length Hair


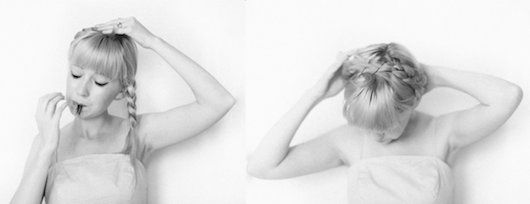
I've gotten a couple of requests for an updated milkmaid braids tutorial with my shorter hair, so here you go. I'll probably try to shoot a video of it sometime, but hopefully the photo format is also helpful.
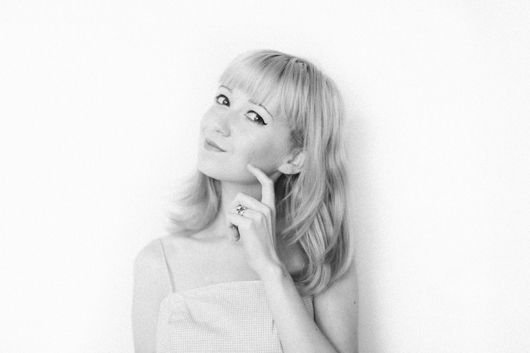
First off: you don't need long hair for milkmaid braids. Approximately shoulder length and with a few shorter layers will work--like my hair. If your hair is slightly shorter or you have more layers then try styling your hair when it is damp.

Start by dividing your hair into two parts and then braid each section. You want to braid your hair tightly at an angle pulling it towards your face/the front of your head. My braids typically go over my ears and sort of stick out at a angle.
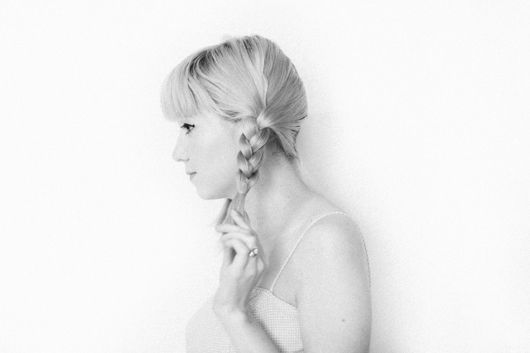
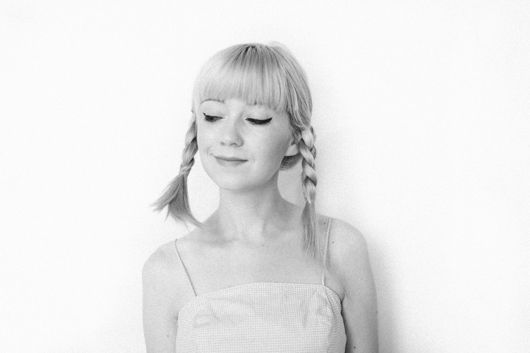
Once both sides are braided, use some bobby pins to pin them to the top of your head. I put bobby pins in from the back of the head towards the front. It usually takes me around five bobby pins to get everything to stay in place. If you hair is longer you can tuck the unbraided ends under the braids, but if it's slightly too short for that (like my hair) just bobby pin the ends together.
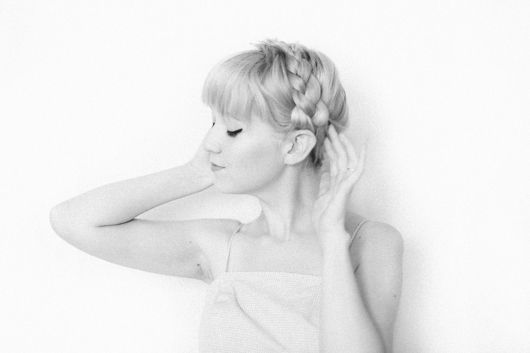
That's it--you're set! If it feels unsteady then you can use some hairspray to secure it all in place. But as you can see it's still pretty simple even if your hair isn't Rapunzel length. To me this a very functional hairstyle; I like wearing it on hot or windy days when I don't want to deal with my hair getting in my face or super tangly, so I think it works even if your braids aren't the smoothest or longest. It's about convenience rather than elegance.

Labels: , , , ,

Monday, July 7, 2014

Three Hairstyles That Work With Flower Crowns


As much as I love flower crowns I tend to wear them the same way every time--hair curly and worn down. When I got this new half crown by Wit and Bloom I decided to challenge myself to wear it a few different ways.
The easiest and most obvious: hair down. No real styling even slightly dirty or messy hair looks nice when you tie a flower crown on top.
A second idea: the low ponytail. With a ribbon ended flower crown, put you hair in a low ponytail then tie the flower crown beneath your ponytail and loop the ribbon end around the elastic in a bow.
Finally: a take on this simple three-bun hairstyle. Separate your hair into three sections, twist each section into a small bun and secure them in place using bobby pins and hairspray.

Labels: , ,

Monday, June 23, 2014

Shades Of Summer


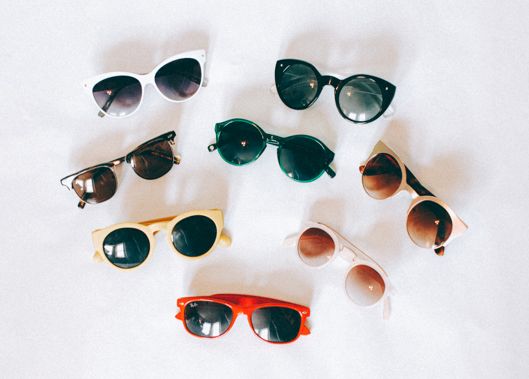
I don't wear a lot of sunglasses in my outfit posts, but I do wear a lot of sunglasses in general and I always try to look for different colors or styles when I buy new pairs. Most of mine are pretty old--there's the red Rayban knockoffs I got in Greece during college from a street vendor after talking him down to a third of his initial asking price and then the large black cat eyes from the now defunct Fred Flare...The only ones I can still link to are the three in the top photo: the big yellow frames, my green Warby Parker's and white cat eyes from Shop Ruche.

Of course my favorite pair of sunglasses are these clear ones I got from Modcloth last summer...but alas I have broken them. Time to reorder?

Labels: , , ,

Monday, June 16, 2014

Minimalist Nail Art DIY


Tools: Ciate amazing grace, nail tape, nail clippers/cuticle scissors, and clear top coat
I'm a big fan of nail art--especially if it is rather clean-looking and easy to reproduce at home. Nails that look fancy without the effort? That's the best. So I was quite thrilled to find these rolls of foil nail stickers on Amazon for only a couple of bucks. They come in sets with 10 different colors and the stripes can be applied in any pattern you like--they'd even work nicely as an accent nail.
The process: start with a base coat (I used two coats of a pale pink), apply the sticker in the desired pattern and clip it short using your scissors, finish with a clear top coat to keep the stickers in place. 

Labels: , , , ,

Monday, June 9, 2014

Pink Spring


All things pink are growing on me--more pink dresses, more bright pink lipstick and I've even added a few pink dinosaur bobby pins to the Etsy shop!

Labels: , , , ,